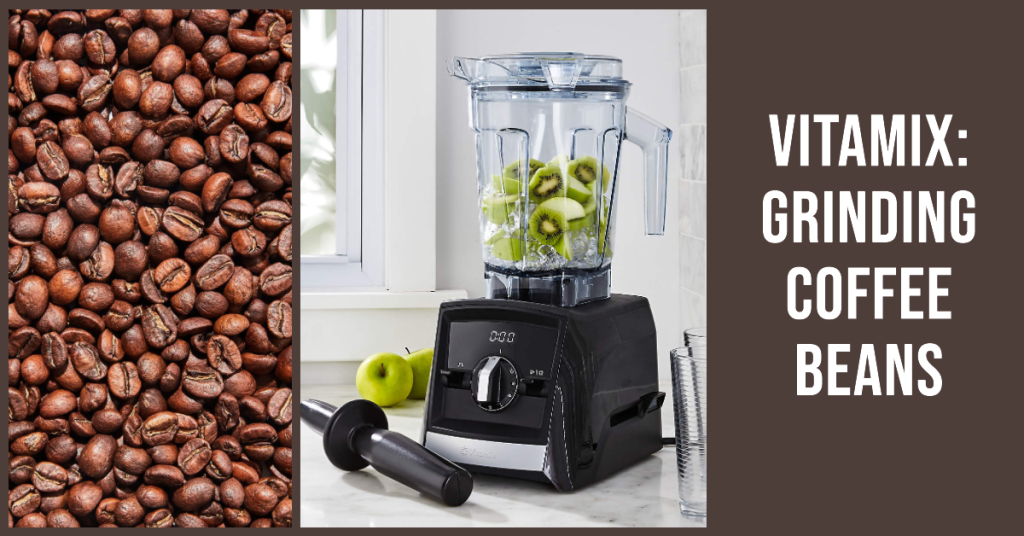
Coffee lovers, rejoice! Today, we’re diving into the world of grinding coffee beans using a Vitamix. This isn’t just about getting your caffeine fix; it’s about enhancing the flavor, aroma, and overall experience of your daily brew. Grinding coffee beans correctly is an art form, and it’s crucial for extracting the best taste from your beans. Have a Ninja? Read this guide on how to grind coffee beans in a Ninja blender.
In this article, we’ll explore the ins and outs of using your Vitamix to grind coffee beans. We’ll cover everything from the basics to the nitty-gritty details, ensuring you get the most out of your coffee beans and your Vitamix. We’ll also delve into the ideal settings and duration for grinding, and the types of coffee beans you can grind in a Vitamix. So, buckle up and get ready for a journey into the aromatic world of coffee.
Table of Contents
The Basics of Grinding Coffee Beans with a Vitamix
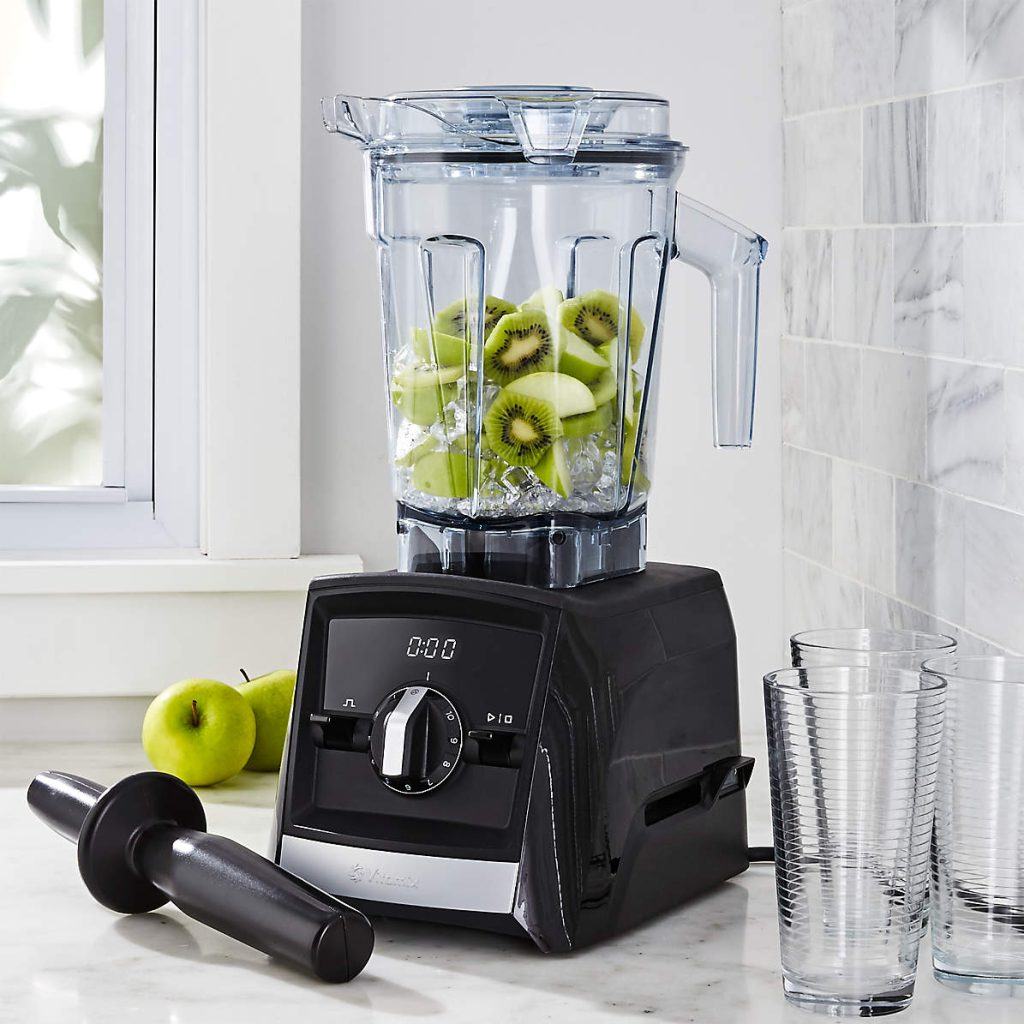
First things first, let’s talk about how to use a Vitamix for grinding coffee beans. The process is surprisingly straightforward. Simply add your coffee beans to the Vitamix container, secure the lid, and select the right speed. Start at a low speed and gradually increase it until you reach the desired consistency. Remember, the longer you grind, the finer the coffee grounds will be.
Now, let’s move on to the ideal settings and duration for grinding. The beauty of a Vitamix is its variable speed control, which allows you to adjust the grinding process to your liking. For a coarse grind, which is perfect for French press or cold brew, you might only need to blend for about 10 seconds. If you prefer a fine grind for espresso, you’ll need to blend for a bit longer.
Finally, let’s discuss the types of coffee beans you can grind in a Vitamix. The good news is, you’re not limited to any specific type. Whether you’re a fan of a robust dark roast or a light and fruity blend, your Vitamix can handle it. Just remember, different beans have different densities and moisture levels, which can affect the grinding process. But don’t worry, with a bit of practice, you’ll be a pro at grinding coffee beans in your Vitamix in no time.

Benefits of Using a Vitamix to Grind Coffee Beans
Let’s talk about why you’d want to grind coffee beans in a Vitamix [Amazon.com]. First up, is the convenience factor. With a Vitamix, you’re not just getting a blender; you’re getting a multi-purpose kitchen tool. It can chop, blend, puree, and yes, grind coffee beans. This means less clutter in your kitchen and less time spent setting up and cleaning different appliances.
Next, let’s discuss the quality of the grind. The Vitamix’s high-speed motor and sharp blades can produce a consistent grind, which is key to brewing a great cup of coffee. Whether you prefer a coarse grind for your French press or a fine grind for your espresso machine, Vitamix has you covered.
Finally, we can’t ignore the versatility of a Vitamix. Beyond grinding coffee beans, it can handle a wide range of tasks. From making smoothies and soups to kneading dough and making nut butter, the Vitamix is a true kitchen workhorse. So, while it’s great for coffee lovers, it’s also a fantastic tool for anyone who enjoys cooking and experimenting in the kitchen.
Step-by-Step Guide to Grinding Coffee Beans in a Vitamix
Now that we’ve covered the why, let’s move on to the how. Here’s a step-by-step guide to grinding coffee beans in a Vitamix.
Preparation Steps:
- Start by measuring out your coffee beans. The amount will depend on how much coffee you plan to make, but a good rule of thumb is 1 to 2 tablespoons of coffee beans per 6 ounces of water.
- Place the coffee beans in the Vitamix container. Make sure the container is dry to prevent the beans from sticking to the sides.
Detailed Grinding Process:
- Secure the lid on the Vitamix container.
- Start the Vitamix on the lowest setting and slowly increase the speed. This gradual increase helps to ensure a consistent grind.
- Watch the beans as they grind. For a coarse grind, you’ll want to stop after about 10 seconds. For a fine grind, you might need to blend for 20 to 30 seconds.
Post-Grinding Steps:
- Once you’ve achieved the desired grind, turn off the Vitamix and carefully remove the lid.
- Use a spatula to scrape out the ground coffee, making sure to get all the bits stuck to the sides and bottom of the container.
- Store any leftover ground coffee in an airtight container to keep it fresh.
Tips and Tricks for Grinding Coffee Beans in a Vitamix
Now that you’re familiar with the basics, let’s delve into some tips and tricks to help you grind coffee beans in a Vitamix like a pro.
First, let’s talk about the container. Vitamix offers both wet and dry containers, and while you can use either to grind coffee beans, the dry container is specifically designed to handle dry goods like coffee beans. Its blades create a reverse vortex, pushing the beans up and away from the blades to prevent clumping.
Next, achieve the desired grind size. This is where the variable speed control of your Vitamix comes into play. Start at a lower speed for a coarse grind and gradually increase the speed for a finer grind. Remember, the longer you blend, the finer the grind will be. It’s all about finding the sweet spot that suits your coffee preference.
Lastly, cleaning and maintenance. After grinding coffee beans, clean your Vitamix container promptly to prevent coffee oils from building up. A quick tip: add a drop of dish soap and some warm water to the container, then run the Vitamix on high for a few seconds. Rinse thoroughly and let it dry.
Comparing Vitamix with Other Coffee Grinding Methods
Let’s take a moment to compare grinding coffee beans in a Vitamix with other methods.
A dedicated coffee grinder is designed with one purpose in mind: to grind coffee beans. They often provide a more consistent grind and allow for more precise control over the grind size. However, they’re an additional appliance to store and maintain. Many coffee enthusiasts consider a dedicated grinder essential for achieving the best flavor extraction, as the grind size can significantly impact the brewing process. This attention to detail is reminiscent of the rich history of Yuban coffee, which has been a staple for many households since the 1950s, renowned for its smooth and rich taste. While investing in such a grinder may require extra counter space, the enhanced coffee experience it provides can be well worth the effort.
On the other hand, grinding coffee beans in a food processor is another alternative. While it’s a versatile kitchen tool, it may not provide as consistent a grind as a Vitamix or a coffee grinder.
So, what’s the verdict? Each method has its pros and cons. A dedicated coffee grinder may offer the best grind consistency, but it’s an additional cost and another appliance to store. A food processor is versatile but may not provide the best grind. Meanwhile, a Vitamix offers a balance of versatility, convenience, and quality grind, making it a worthy contender in the coffee grinding game.
Final Thoughts
We’ve journeyed through the art of grinding coffee beans with a Vitamix, from the basics to the finer details. We’ve explored the benefits of using a Vitamix, compared it with other grinding methods, and even shared some handy tips and tricks. The versatility, convenience, and quality grind that a Vitamix offers make it a fantastic tool for any coffee lover. So, the next time you’re craving a fresh brew, why not give your Vitamix a whirl? Happy brewing!
FAQs
Can I use Vitamix to grind coffee beans?
Absolutely! A Vitamix is a versatile tool that can handle coffee beans with ease.
Is it OK to grind coffee beans in a blender?
Yes, it is. However, the consistency and quality of the grind may vary depending on the blender.
How do you grind on a Vitamix?
Start with a low speed, gradually increase it, and adjust the duration based on your preferred grind size.
How long does Vitamix grind coffee?
It can range from 10 seconds for a coarse grind to 30 seconds for a fine grind.