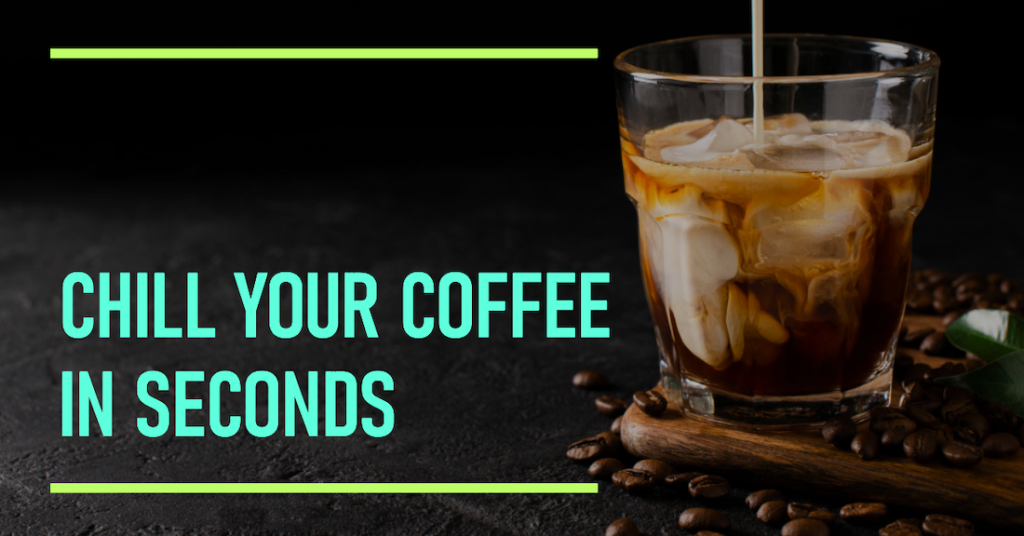
By the physics, the fastest kitchen ways to cool coffee are to pour it between two wide mugs, stand the cup in iced water and stir, or add ice or cold milk (none timed here). Each puts more of the coffee in contact with something colder. Ice and milk dilute the drink; pouring and the ice bath do not.
There is also a reason to bother beyond impatience. The International Agency for Research on Cancer classifies drinking very hot beverages as probably carcinogenic to humans (Group 2A) for esophageal cancer, defining the term as “any beverages consumed at a temperature above 65 °C”, while finding “no conclusive evidence for a carcinogenic effect of drinking coffee” itself (IARC press release N° 244, 15 June 2016). Coffee is brewed a long way above that line (the figures and their source are on our page on the best brewing temperature), so a fresh cup is “very hot” by IARC’s definition until it has cooled substantially. Our page on coffee and a sore throat covers what that finding does and does not claim.
Table of Contents
What makes coffee cool faster?
Cooling is a surface problem. Everything that works, works by getting more of the coffee in contact with something colder: a bigger free surface, a colder vessel wall, or cold mass stirred in. A narrow mug sitting on a counter is among the slowest arrangements, which is why waiting feels endless.
Commercial kitchens have to cool cooked food quickly for safety reasons, and the FDA’s Food Code enumerates the acceptable ways to do it. It is written for retail food establishments rather than for your kitchen, and it is aimed at bacterial safety rather than at drinking temperature, but the physics is the same physics, and it is the only published list of cooling methods we located from a body with authority. §3-501.15 permits, in its own words:
- “Placing the food in shallow pans”
- “Separating the food into smaller or thinner portions”
- “Using rapid cooling equipment”
- “Stirring the food in a container placed in an ice water bath”
- “Using containers that facilitate heat transfer”
- “Adding ice as an ingredient”
It also specifies how containers should sit while cooling: “Arranged in the EQUIPMENT to provide maximum heat transfer through the container walls” and “Loosely covered, or uncovered if protected from overhead contamination… during the cooling period to facilitate heat transfer from the surface of the FOOD” (FDA Food Code 2022, §3-501.15). Shallow, spread out, thin, uncovered, in contact with something cold, stirred. A spoon is not named among the specific methods, though the Code’s final item is an open-ended “other effective methods”, so its absence from the named list is not a prohibition.
Five ways to cool coffee fast
1. Pour it between two wide mugs
Pour the coffee from one vessel into another, and back again. Going by the physics, we expect this to be among the fastest, though we have not timed it. Each pour drags the hot liquid through the air as a thin stream and turns the whole volume over, and every transfer puts it in contact with fresh cool vessel walls. It is the domestic version of “Separating the food into smaller or thinner portions” and “Using containers that facilitate heat transfer” at once. A wide, shallow vessel beats a tall narrow one for the same reason a shallow pan beats a stockpot: more surface for the same volume.
2. Stand the cup in iced water and stir
Stand the cup in a bowl of iced water and stir the coffee. This is the Food Code’s “Stirring the food in a container placed in an ice water bath” at the size of a mug: the cold water draws heat out through the cup wall, and stirring keeps fresh hot coffee against it. Nothing goes into the drink, so it does not dilute. Use a cup that can take a fast temperature change, for the reason given under ice below.
3. Add ice (it dilutes; coffee ice cubes do not water it down)
This one is fine and it is on the Food Code’s list as “Adding ice as an ingredient”. Ice cools far more per gram than cold water does, because melting absorbs heat at constant temperature before the meltwater starts warming up at all. The trade-off is dilution, and the fix, freezing coffee into cubes instead, is a sound one.
If you are pouring hot coffee onto ice rather than ice into coffee, use a vessel rated for it. Ordinary glassware is not tempered, and a rapid one-sided temperature change is how it cracks. A mug, a metal tumbler or borosilicate glass is the safe version of this; a thin drinking glass straight from the cupboard is the one that fails.
4. Add cold milk or cream
Also fine, for the same reason: you are adding cold mass. It changes the drink, and it is the one method here that does something for taste as well as temperature. If you add milk and it splits rather than blending, that is a separate problem: see why almond milk curdles in coffee.
5. Use the fridge or freezer
This works. Use a container that tolerates a fast temperature change, not just heat: going from near-boiling into a freezer is the change, not the heat. Borosilicate and metal handle it; ordinary soda-lime glass and ceramic with an existing hairline crack are the ones that fail. Leave it loosely covered or uncovered, which is what the Food Code asks for anyway, and do not seal a full container and forget it in the freezer: liquid expands as it freezes.
Two tricks that do not work as advertised
The metal spoon: overstated
A spoon can only absorb heat until it reaches the coffee’s temperature, and a teaspoon is a very small object next to a cupful of liquid. After the first few seconds it has stopped being a heat sink and is only a fin: a bit of metal conducting a trickle of heat up out of the cup into the air. Meanwhile the free surface of the coffee is losing heat continuously by evaporation and convection over an area hundreds of times larger than the spoon’s cross-section. The spoon is not nothing, but it is not the lever, and a page that presents it as a technique is pointing at the wrong part of the system.
This is reasoning from the physics, not a measurement: we have not tested it, and it is exactly the sort of claim the protocol at the end of this page would settle. What the spoon is good for is stirring, which is part of the Food Code’s ice-bath method and does more than the spoon sitting still ever will.
The sealed shaker: do not seal hot liquid in one
Shaking cooled coffee with ice is a real technique. Sealing a shaker on hot coffee and shaking it is not the same thing.
Many cocktail shakers are a friction fit, not a latched pressure vessel. Hot liquid inside a closed one is still giving off vapor, and the lid is held on by nothing but the seal you pushed together. Even a screw-lid shaker is not made for it: YETI says to use its cocktail shaker for cold drinks only, because “Hot liquids will cause pressure to build inside the vessel causing the cap to leak or eject creating a scald hazard.” Every published cooling instruction we located runs the other way too: the Food Code wants cooling food “Loosely covered, or uncovered” precisely so heat can leave the surface. Sealing is the opposite of cooling.
The safe order costs nothing. Bring the coffee down first (over ice in an open vessel, or by decanting) and shake it once it is no longer hot. You get the same aerated texture, and the same dilution trade-off, with none of the question mark.
How to cool coffee without adding ice or water
Two of the five ways above add something to the cup: ice and milk. If dilution is the thing you are protecting against, the ones that do not are pouring between vessels, an ice-water bath around the outside of the cup with stirring, and the fridge. Coffee ice cubes are the compromise: the drink is not watered down, but you still add volume.
The reverse problem has its own page: if the coffee has already gone cold and you want it hot again, see the best way to reheat coffee, which also covers the superheating hazard in microwave reheating in the manufacturers’ own words.
How to test which method is fastest
What this page will not give you is a cooling curve. Nobody here has put a thermometer in a cup and timed it. How fast your coffee cools depends on the vessel, the volume, the room, whether the cup is lidded and whether it was pre-warmed, and any “coffee drops to X degrees in Y minutes” figure that is not attached to a specific measured setup is decoration.
We have not run this. If you own a thermometer and want to settle which method is fastest in your kitchen, the experiment is:
- Brew one batch, weigh out identical portions, and note the room temperature.
- Use the same vessel for every arm except the arm that is testing the vessel.
- Record the temperature at fixed intervals from the same depth in the liquid, stirring briefly before each reading so you are not measuring a hot spot.
- Run a control that does nothing at all. Without it you cannot tell a method from the passage of time.
Report the vessel, the volume, the room temperature and the interval alongside any number, because a cooling figure without them describes nothing.
Disclaimer: This page is general information, not medical advice. The cancer point above is the International Agency for Research on Cancer’s classification of very hot drinks, based on research on groups of people; it does not predict what will happen to any individual. If you have a question about hot drinks and your own health, ask your clinician.
Corrections to earlier versions of this page
- It said a metal spoon cools coffee: “Metal is a good conductor of heat, meaning it can absorb heat from your coffee quickly. Just place a metal spoon or stirrer in your hot coffee and watch as it cools down.” The first half is true; the conclusion does not follow (see the metal spoon above).
- It described “shaking hot coffee with ice in a cocktail shaker and then straining it into a glass” and called it “a favorite among baristas and coffee enthusiasts alike.” That seals hot liquid in a shaker; shake the coffee only once it has cooled.
- It left out pouring the coffee between two vessels.
- It said the fridge or freezer “can take anywhere from 15 minutes to an hour, depending on how hot your coffee is and how cold you want it to be.” That range had no source and could not have one, because it depends on the vessel and the volume as much as on the starting temperature, so it is gone rather than replaced.
- It said to “pour your hot coffee into a heat-resistant container”. What matters is tolerance of a fast temperature change, not of heat.
- It suggested adding “a splash of coffee wine”, linked mid-recipe. Coffee wine is a fermented homemade product with its own cautions, covered on its own page.
- It did not say to use a vessel rated for a fast temperature change when pouring hot coffee onto ice (see the ice section above).
- It said we could not find a published safety advisory on shaking hot coffee in a sealed shaker. YETI publishes one, quoted in the shaker section above.